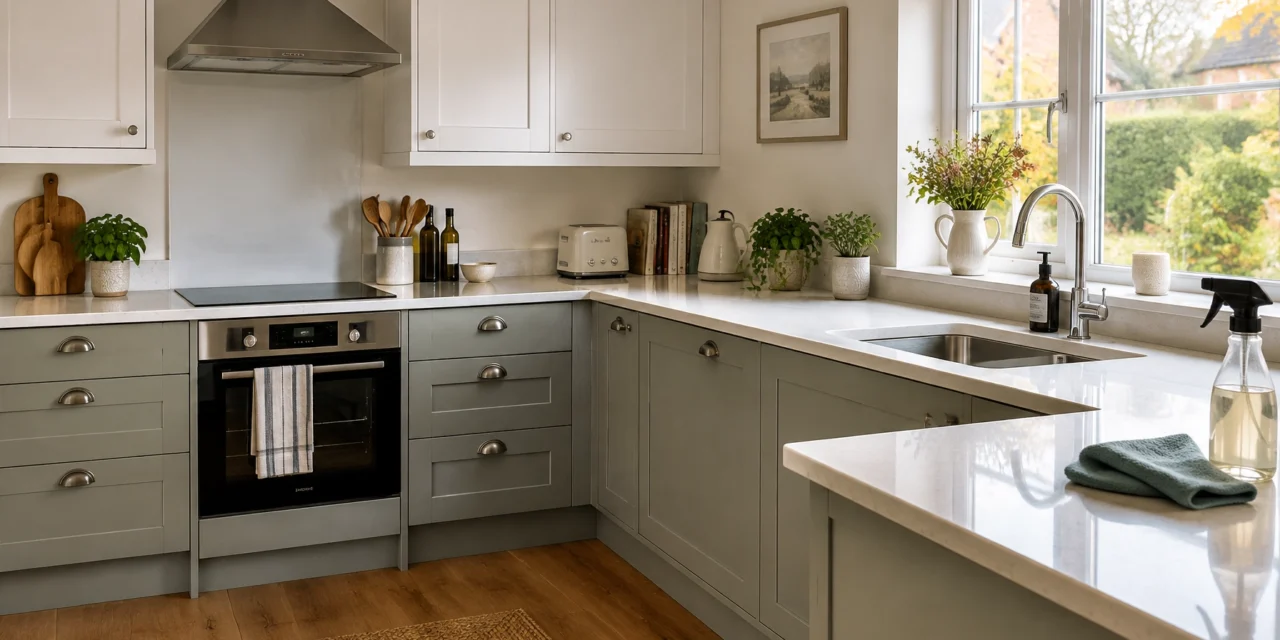
The kitchen is one of the busiest rooms in any home. Daily cooking creates grease, food marks, crumbs, limescale and hidden dust, even when the room looks reasonably tidy.
A proper kitchen deep clean goes further than wiping the worktops and mopping the floor. It includes the areas that are easy to overlook, such as the inside of cupboards, oven racks, extractor filters, appliance seals, skirting boards and the space behind freestanding appliances.
Whether you are a homeowner preparing for autumn, a tenant getting ready for a tenancy check out, or a landlord arranging a property refresh, this guide explains how to deep clean a kitchen from top to bottom.
If you are searching for deep cleaning Bury St Edmunds, domestic cleaners Bury St Edmunds, or reliable cleaning services Bury St Edmunds, it also explains what you can expect from professional cleaners in Suffolk.
Why deep clean your kitchen?
A regular clean helps control everyday dirt. A deep clean tackles the build-up that happens over time.
A kitchen deep clean can help to:
- Remove grease from cupboards, tiles and extractor hoods
- Reduce food residue and unpleasant odours
- Improve the appearance of ovens, hobs and sinks
- Clean hidden areas behind and underneath appliances
- Prepare a rental property for a tenancy check out
- Freshen up a home before autumn visitors arrive
- Maintain a more hygienic food preparation area
For tenants, the kitchen is often one of the areas most closely checked at the end of a tenancy. It should generally be returned to the same standard of cleanliness as when you moved in, allowing for fair wear and tear. Shelter’s guidance on cleaning and tenancy deposits explains this in more detail.
Before you start
Give yourself enough time. A full kitchen deep clean may take several hours, particularly if the oven, fridge and cupboards need attention.
You will need:
- Rubber gloves
- Microfibre cloths
- Non-scratch sponges
- A soft brush or old toothbrush
- A bucket and mop
- A vacuum cleaner or brush
- Bin bags
- Washing-up liquid
- A suitable kitchen degreaser
- An oven cleaner suitable for your appliance
- Food-safe sanitiser for food preparation surfaces
Open a window where possible and use the extractor fan for ventilation. Always read cleaning product instructions and never mix bleach with other products. For further safety information, the Health and Safety Executive’s catering guidance includes advice about cleaning chemicals and kitchen ventilation.
Step 1: Clear and declutter the room
Start by removing everything from the worktops, windowsills, table and exposed shelves. Put small appliances, utensils and food items to one side.
For a tenancy check out, empty all cupboards and drawers as well. Check food dates and remove anything unwanted. This gives you a clear view of the areas that need cleaning and prevents crumbs or sticky marks being left behind.
Empty the kitchen bin and food waste caddy before you begin. Wash the bin inside and out, then allow it to dry before fitting a fresh liner.
Step 2: Work from the top down
Cleaning from high areas to low areas prevents dust and residue from falling onto surfaces you have already cleaned.
Begin with:
- Ceiling corners and cobwebs
- Light fittings
- The tops of wall cupboards
- Extractor hood exterior
- High shelves and decorative items
Use a slightly damp microfibre cloth for dust. Avoid soaking light fittings, sockets or electrical controls.
Next, wipe down cupboard doors, handles, wall tiles and splashbacks. Grease often collects around the hob and on the cupboards directly above or beside it.

Step 3: Clean cupboards and drawers
For a thorough clean, wipe the inside and outside of every cupboard and drawer.
Use warm water with a small amount of washing-up liquid for general marks. A suitable degreaser may be needed on doors and handles close to the cooker.
Pay attention to:
- Corners and shelf edges
- Drawer runners
- Cupboard handles
- Sticky patches
- Crumbs in deep drawers
- Grease on the underside of wall cupboards
Dry surfaces after cleaning, especially wooden or laminate cupboards. Do not over-wet joints or exposed edges.
If you are cleaning before a tenancy check out, take particular care with food cupboards, pan drawers and the area under the sink. These are common places for crumbs, spills and dust to collect.
Step 4: Deep clean the oven, hob and extractor
The cooker area usually needs the most work. Grease and burnt-on food can quickly build up if it is not cleaned regularly.
Oven
Remove shelves and trays and soak them in hot, soapy water. Use an oven cleaner or another suitable product on the interior, following the manufacturer’s instructions.
Clean:
- The oven floor and sides
- The inside and outside of the door
- Oven glass
- Shelves and trays
- The area around the seal
Do not apply products to heating elements unless the appliance instructions specifically allow it. Make sure all residue is removed and the oven is completely dry before using it again.
Hob
Remove pan supports, burner caps or other removable parts where appropriate. Soak them before scrubbing away grease and food deposits.
Clean around:
- Hob rings and burners
- Control knobs
- Edges and seams
- Splashback area
- The gap between the hob and worktop
For glass or ceramic hobs, use a non-scratch product and follow the appliance manufacturer’s advice.
Extractor hood and filters
Grease can collect on the hood, underside and filters. Turn the appliance off before cleaning and avoid spraying liquid into the motor or electrical parts.
Metal filters can often be removed and soaked in hot water with a suitable degreaser. Rinse and dry them fully before replacing them.
Keeping the extractor and oven free from excess grease is not only part of a good deep clean. It can also help reduce fire risks. The HSE provides further kitchen safety guidance.
Step 5: Clean the fridge, freezer and small appliances
Empty the fridge and freezer completely. Dispose of expired food and remove shelves, drawers and trays.
Wash removable parts in warm, soapy water and dry them before putting them back. Wipe the internal walls, door shelves, rubber seals and handles.
If the freezer needs defrosting, allow enough time for this before cleaning. Never use sharp objects to remove ice.
Do not forget smaller appliances, including:
- Microwave interior and turntable
- Kettle exterior and spout
- Toaster crumb tray
- Coffee machine exterior
- Air fryer basket and drawer
- Food processor parts
Always unplug appliances before cleaning them and do not allow water to enter electrical components.
Step 6: Wash the sink, taps and worktops
Spray or wipe the sink with a suitable cleaner, then scrub around the plughole, overflow and edges. Limescale may need a product designed for the surface.
Clean taps carefully, including the base and handles. A dry microfibre cloth can help create a polished finish.
For worktops and food preparation surfaces, clean away crumbs and grease first. If required, use a food-safe sanitiser according to the product label. The Food Standards Agency’s cleaning guidance recommends cleaning food-contact surfaces carefully and following product instructions.
Do not use a strong chemical on a worktop unless it is suitable for that material. Natural stone, wood and some laminate surfaces require specific care.
Step 7: Clean splashbacks, walls and hidden areas
Wipe the wall behind the hob, tiles and splashback to remove cooking splashes and grease vapour. Use a soft brush on grout lines, taking care not to damage the surface.
If it is safe to do so, move freestanding appliances slightly to clean underneath and behind them. This may include:
- The fridge freezer
- Freestanding cooker
- Washing machine
- Dishwasher
Do not move built-in appliances or disconnect gas or electrical connections unless this is being done by a suitably qualified person. Vacuum loose debris first, then wipe or mop the accessible floor area.

Step 8: Finish with floors, skirting boards and touch points
Save the floor until last. Vacuum or sweep around the edges of the room, under accessible appliances and along the skirting boards.
Mop with a product suitable for the flooring. Avoid leaving excess water on wood, laminate or other sensitive surfaces.
Finally, wipe the areas people touch most often:
- Door handles
- Light switches
- Appliance handles
- Fridge and freezer seals
- Bin lid
- Tap handles
- Cupboard pulls
Allow everything to dry before returning items to the kitchen.
What do professional deep cleaners cover?
Professional cleaners in Bury St Edmunds and across Suffolk usually work from a room-by-room checklist. A kitchen deep clean may include:
- Cupboard doors, handles and interiors
- Worktops and splashbacks
- Oven, hob and extractor
- Microwave and small appliance exteriors
- Fridge and freezer interiors
- Sink, taps and plughole
- Tiles, grout and washable walls
- Skirting boards and door frames
- Floors and accessible areas beneath appliances
- Bin cleaning and removal of food waste
If you are booking domestic cleaners Bury St Edmunds or comparing cleaning services Bury St Edmunds, ask exactly what is included. For a tenancy check out, confirm whether the oven, extractor filters, fridge, cupboards and floors are part of the service.
A written checklist, invoice or receipt may also be useful for your records. However, tenants in England cannot generally be forced to pay for a professional clean or use a particular cleaning company. The key requirement is usually to return the property to the documented standard at the start of the tenancy.
Kitchen deep-clean checklist
Before you finish, check the following:
- Worktops, splashbacks and cupboard doors are degreased
- Cupboards and drawers are clean inside and out
- Oven, racks, trays and door glass are clean
- Hob, controls and extractor hood are free from grease
- Extractor filters have been cleaned and dried
- Fridge and freezer are empty and clean
- Sink, taps and plughole have been cleaned
- Microwave and small appliances have been wiped
- Walls, tiles, grout and skirting boards have been checked
- Floors have been vacuumed and mopped
- Bin has been emptied and washed
- Final photographs have been taken, if preparing for check out

Need help with a kitchen deep clean in Bury St Edmunds?
A kitchen deep clean can be time-consuming, especially when you are moving home, preparing a property for new occupants or managing several rooms at once.
Our local cleaning service works with homeowners, tenants, estate agents and businesses across Bury St Edmunds and surrounding Suffolk areas. From one-off domestic deep cleans to tenancy check outs and regular commercial contracts, a clear cleaning plan can help you achieve a fresh, well-presented kitchen without having to tackle every task alone.
If you are looking for deep cleaning Bury St Edmunds or professional cleaners Suffolk, contact a local cleaning team to discuss the size of the kitchen, the areas needing extra attention and your preferred date.